 Pin It
 My kitchen smelled like toasted spices the afternoon my neighbor stopped by unannounced, and I was frantically searching the pantry for something to offer with coffee. Two cans of chickpeas caught my eye, and within minutes they were crisping in the oven while we talked. By the time she left, I'd discovered something better than store-bought snacks: a recipe so simple it felt like I'd uncovered a kitchen secret.
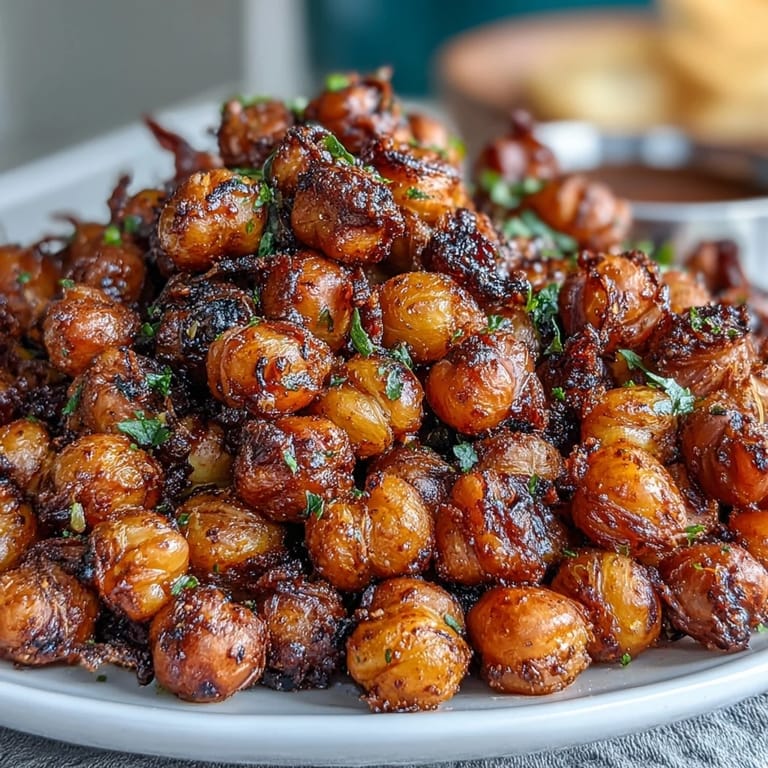
One evening I brought a batch of the smoky paprika version to a potluck, and a friend who rarely eats legumes kept reaching back for more, genuinely shocked they were made from canned chickpeas. That moment taught me that texture changes everything—these aren't soft beans masquerading as food, they're an entirely different thing.
Ingredients
- Chickpeas: Two cans drained and rinsed thoroughly—any excess liquid is the enemy of crispiness, so take your time here.
- Olive oil: Two tablespoons coat them evenly and help them turn golden; don't skimp or they'll taste parched.
- Fine sea salt: For the classic version, just half a teaspoon is all you need when they're warm.
- Smoked paprika, ground cumin, garlic powder: This trio creates warmth and depth without any heat if that's not your style.
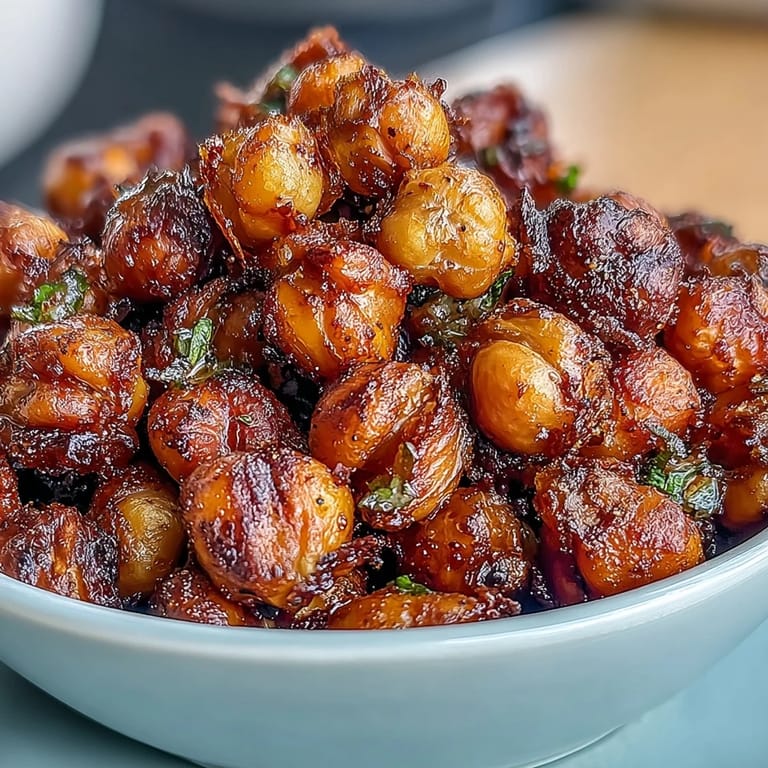
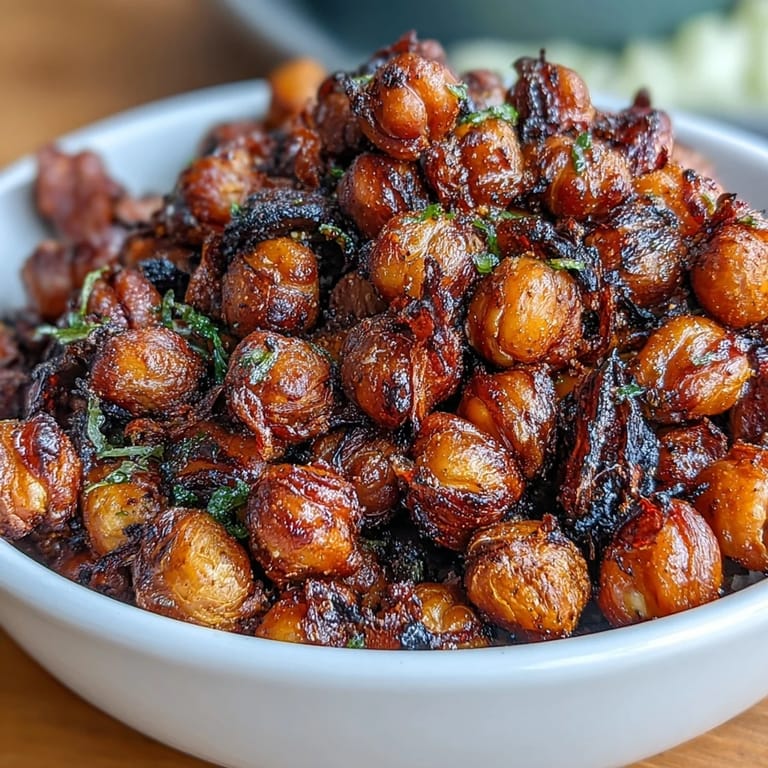
- Chili powder, lime zest, cayenne pepper: Bright and bold together, these flavors wake up your palate and make great use of what's already in your spice drawer.
Tired of Takeout? 🥡
Get 10 meals you can make faster than delivery arrives. Seriously.
One email. No spam. Unsubscribe anytime.
Instructions
- Get your setup ready:
- Heat the oven to 400°F and line a baking sheet with parchment paper so cleanup is painless and nothing sticks.
- Dry those chickpeas thoroughly:
- Pat them completely dry with a clean kitchen towel—moisture is what keeps them soft, so be almost aggressive about it. This single step is what separates okay from genuinely crispy.
- Toss with oil:
- Spread the chickpeas on your sheet and coat them evenly with olive oil, making sure each one gets touched by the oil for even browning.
- First bake:
- Slide them into the oven for 25 to 30 minutes, shaking the pan halfway through so they toast evenly. You're looking for golden color and a sound like small stones when you shake them.
- Season while warm:
- Pull them out and immediately toss with whichever flavor you've chosen—the warmth helps everything stick and flavors to penetrate. This is your moment to taste and adjust.
- Optional second bake:
- For extra crunch, return them for five more minutes, though honestly most batches are perfect after the first round.
- Cool completely:
- Let them sit on the baking sheet until they're room temperature so they finish crisping up, then transfer to an airtight container.
 Pin It
 The best part is watching people's faces when they realize these are homemade and actually better than anything packaged. Suddenly your kitchen feels a little more skilled.
Flavor Variations Worth Trying
The three versions here are just starting points, and once you understand how seasoning works with these crunchy little vessels, your spice cabinet becomes a playground. I've made curry powder versions for Indian-inspired snacking, and a lemon pepper blend that tastes almost like a crispy snack chip. The beauty is that you can make all three at once if you divide the batch before seasoning.
Storage and Refreshing
They're best eaten within the first day or two while they maintain that satisfying snap, but don't throw away day-old batch—just spread them on a sheet and crisp them up in a 375°F oven for five minutes and they practically taste freshly made. Humidity is their enemy, so keep them sealed tightly and away from any moisture.
Ways to Use Them Beyond Snacking
Crumble them over salads for protein and crunch that actually lasts through dressing, scatter them into soup at the last second for textural contrast, or serve alongside hummus and vegetables as part of a spread. They've become my solution whenever I need something substantial but not heavy, something that tastes intentional rather than like I'm scraping together dinner.
- Top grain bowls right before eating so they stay crispy and don't absorb moisture from other ingredients.
- Mix into yogurt with some herbs for a crunchy dip that feels fancy but took almost no effort.
- Keep a batch on hand so when hunger strikes between meals, you have something satisfying that isn't processed.
 Pin It
 This recipe proves that the simplest ideas often taste the best, and that a pantry staple can become something you actually crave. Make a batch today and see what happens when people taste them.
Recipe Questions & Answers
- → How do I achieve maximum crispiness?
Make sure to pat chickpeas very dry before baking and roast them at 400°F, shaking the pan halfway for even crisping.
- → What seasoning options are available?
You can choose classic sea salt, smoky paprika with cumin and garlic, or a spicy chili lime blend with cayenne pepper.
- → Can these chickpeas be reheated to restore crunch?
Yes, if they lose crispiness, reheat them in the oven briefly to revive the crunch.
- → Are these chickpeas suitable for special diets?
They are naturally vegan and gluten-free, but check spice blends for any hidden allergens.
- → How can these chickpeas be served?
They make a tasty snack on their own or can be used as a crunchy topping for salads and soups.