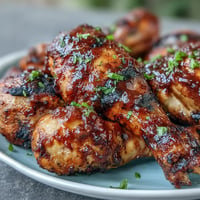
Pin It
 The sharp sizzle of chicken hitting hot oil still takes me back to Tuesday night dinners at our house. My dad always complained about the lingering smell, but that never stopped him from taking the crispiest piece from the plate. I discovered this buttermilk trick during college when my roommate, whose grandmother owned a diner in Georgia, showed me how a simple overnight soak could transform ordinary chicken into something magical.
Last summer, I made these tenders for my niece who declared herself a chicken nugget connoisseur at the ripe age of six. The kitchen windows were open, letting in a warm breeze as I fried batch after batch. She stood on her stepstool beside me, carefully inspecting each golden piece with serious concentration. When she finally took a bite and gave me a thumbs up with her eyes closed in bliss, I felt like I had won a culinary Olympic gold medal.
Ingredients
- Buttermilk: This tangy liquid is the secret weapon that tenderizes the chicken while adding subtle flavor depth that makes people wonder what your secret is.
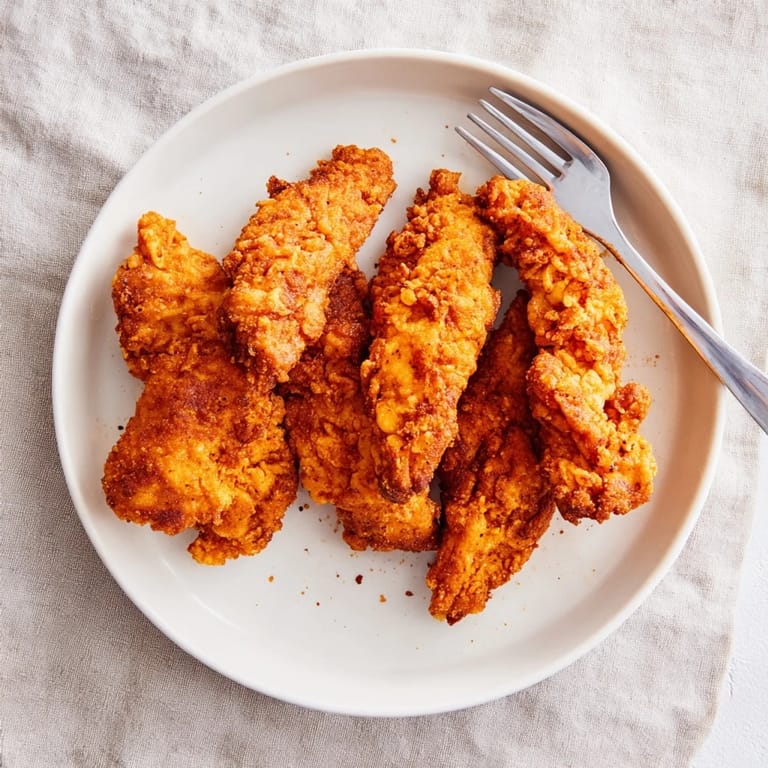
- Chicken tenders: I prefer using actual tenders rather than sliced breast meat because their natural shape creates more surface area for that delicious crunchy coating.
- Baking powder: This unassuming ingredient creates microbubbles in the coating that expand during frying, resulting in extra crispiness that stays crunchy even after the chicken has cooled a bit.
- Paprika: Beyond adding a beautiful color to your coating, this spice brings a subtle sweetness that balances the savory elements.
Tired of Takeout? 🥡
Get 10 meals you can make faster than delivery arrives. Seriously.
One email. No spam. Unsubscribe anytime.
Instructions
- Marinate with patience:
- Whisk together that buttermilk, salt, black pepper, garlic powder, and onion powder until well combined, then add your chicken and ensure each piece gets a good coating. This is where the magic happens, so give it at least an hour but overnight will reward your patience.
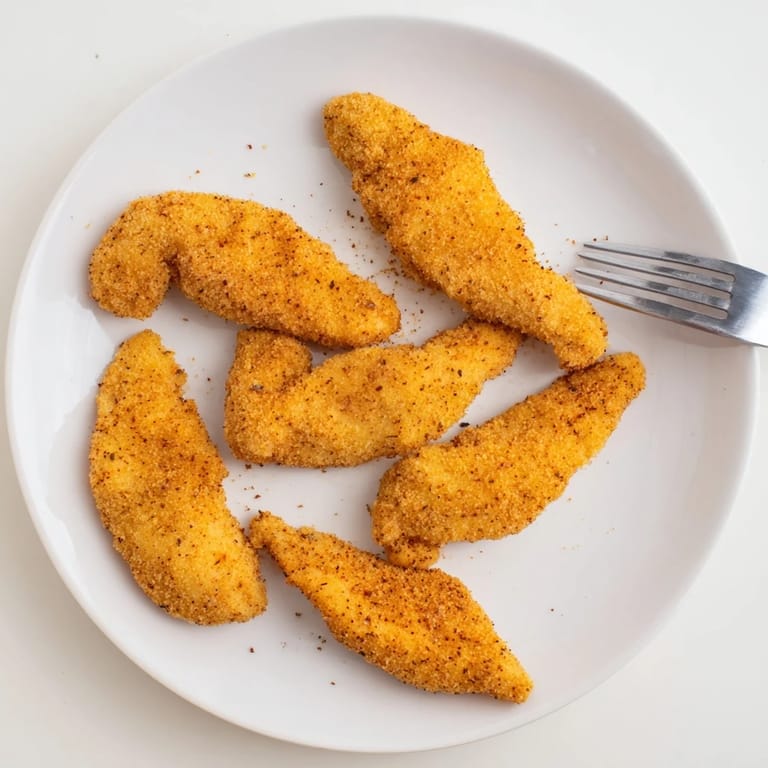
- Prepare your dredging station:
- Mix the flour with paprika, salt, pepper, cayenne and that crucial baking powder in a shallow dish where you have room to work. I like pressing the seasoned flour firmly onto each tender to create little nooks and crannies that crisp up beautifully.
- Heat your oil properly:
- Bring your oil to 350°F in a deep skillet or Dutch oven before adding any chicken. If you dont have a thermometer, drop a pinch of flour in – it should sizzle immediately but not burn.
- Fry in batches:
- Resist the urge to overcrowd the pan, as this drops the temperature and results in soggy coating. Leave plenty of space between tenders and listen for that consistent, gentle sizzle that tells you the temperature is right.
- Rest before serving:
- Give your freshly fried tenders a two-minute rest on paper towels. This allows the juices to redistribute inside the chicken while excess oil drains away.
 Pin It
 One chilly autumn evening, I surprised my husband with these tenders after a particularly rough week at work. The kitchen was warm and fragrant with spices as we sat at our tiny kitchen table, dipping crispy chicken into homemade honey mustard sauce. No fancy restaurant could have matched that moment – just comfort food and quiet conversation that somehow made all the weeks stresses dissolve away like the steam rising from our plates.
Double-Dipping Technique
I discovered the double-dipping method during a cooking competition with friends where we were challenged to make the crunchiest chicken. After the first flour coating, I dipped the tenders back into the buttermilk and then into the flour again, creating layers that fried up with an almost shell-like crispiness that maintained its crunch even after cooling. The extra minute of effort transforms these from great to unforgettable, especially for those who prioritize texture in their food experience.
Perfect Pairing Ideas
The versatility of these chicken tenders extends far beyond the classic ranch or honey mustard dipping sauces. Over years of making this recipe, Ive experimented with countless companions and found that a tangy coleslaw with apple cider vinegar dressing creates a perfect temperature and texture contrast. For an elevated dinner option, I serve these alongside roasted garlic mashed potatoes and quick-pickled vegetables, transforming a casual favorite into something worthy of dinner guests.
Storage and Reheating
Despite making these countless times, I rarely have leftovers, but when I do, proper storage makes all the difference in maintaining their quality. After cooling completely, place tenders in a single layer on a paper towel inside an airtight container and refrigerate for up to three days.
- For reheating, avoid the microwave which creates soggy results, and instead place on a wire rack in a 350°F oven for 7-10 minutes until heated through.
- If you need to make these ahead for a party, you can fry them 75% of the way, then finish in a hot oven just before serving.
- Freezing works surprisingly well if you flash-freeze them on a baking sheet first, then transfer to a freezer bag once solid.
 Pin It
 Whether youre feeding picky children, impressing dinner guests, or just treating yourself to something special, these crispy chicken tenders deliver restaurant quality results from your own kitchen. The real magic isnt just in the crunch or the flavor, but in how a simple comfort food can create moments of joy around your table.
Recipe Questions & Answers
- → How long should chicken marinate in buttermilk?
Marinate for at least 1 hour in the refrigerator. For best flavor development and tenderness, marinate overnight. The acid in buttermilk breaks down proteins, ensuring juicy, tender results.
- → What oil temperature is best for frying?
Maintain oil temperature at 175°C (350°F). Use a cooking thermometer to monitor heat. Oil that's too cool produces greasy results; oil that's too hot burns the coating before the chicken cooks through.
- → How do I achieve extra crunch?
Try double-dipping: coat chicken in flour, dip back into buttermilk, then coat again with flour. This creates multiple layers that fry into a thicker, crunchier crust.
- → Can I make this gluten-free?
Yes, simply substitute all-purpose flour with a gluten-free flour blend in equal proportions. Ensure the blend contains xanthan gum for proper texture and adhesion.
- → How do I know when chicken is fully cooked?
Insert a meat thermometer into the thickest part of a tender without touching bone. Chicken is safely cooked when the internal temperature reaches 75°C (165°F).
- → Why is resting time important?
Resting for 2 minutes after frying allows juices to redistribute throughout the meat, keeping it moist. This prevents juices from running out when you bite into the tender.