 Pin It
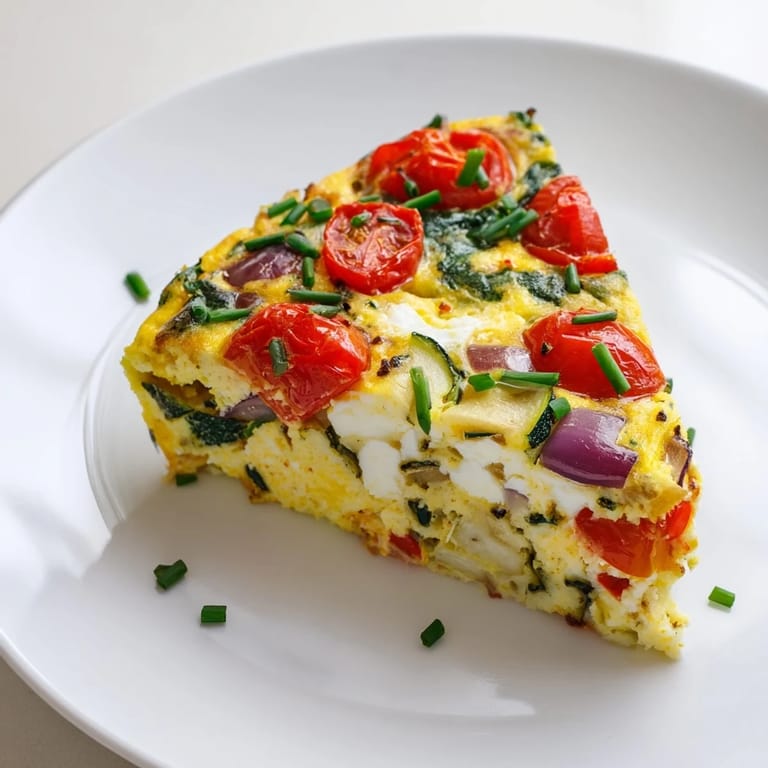
 Last Sunday, my sister texted at 8 AM asking what I was making for breakfast, and I sent her a photo of this golden sheet pan fresh from the oven. She was over in twenty minutes with a bag of coffee, and we ate standing up in my kitchen because neither of us could wait to sit down. The texture somewhere between a frittata and a souffle still makes me pause every time I pull it from the oven.
I discovered this method during a particularly chaotic week when I needed something fast but refused to resort to cereal again. My roommate wandered in mid-whisk, looked at the cottage cheese with genuine suspicion, then proceeded to eat three squares straight from the pan. Now she requests it whenever her work schedule gets overwhelming.
Ingredients
- 10 large eggs: Room temperature eggs whisk up fluffier and incorporate more smoothly with the cottage cheese
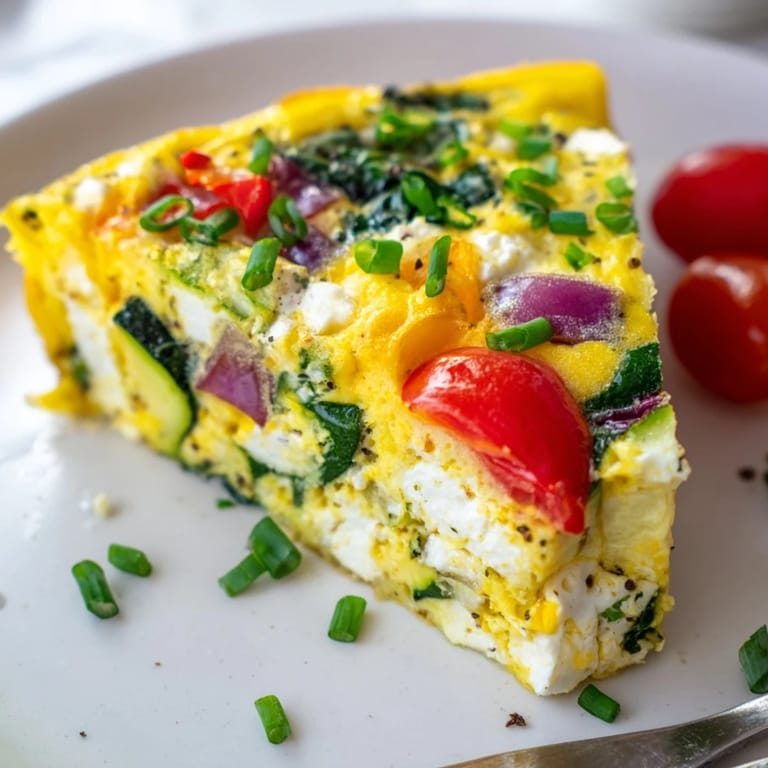
- 1 1/2 cups low-fat cottage cheese: Small-curd varieties blend better, creating that custard-like texture without obvious curds
- 1/4 cup milk: Whole milk adds richness, but any unsweetened variety works depending on your preference
- 1 cup cherry tomatoes: Roasting concentrates their natural sweetness, balancing the savory eggs perfectly
- 1 cup baby spinach: Chop it slightly larger than you think you should, it wilts down in the oven
- 1/2 cup red bell pepper: Adds crunch and color that holds up beautifully during baking
- 1/2 cup zucchini: Pat it dry with paper towels after dicing to prevent excess moisture
- 1/4 cup red onion: Finely chopped so it distributes evenly rather than dominating any bite
- 1/2 teaspoon salt: Cottage cheese adds saltiness, so taste your mixture before adding more
- 1/4 teaspoon black pepper: Freshly cracked makes a noticeable difference in depth
- 1/2 teaspoon dried oregano: Italian seasoning works as an easy substitute if that is what you have on hand
- 2 tablespoons fresh chives: Add these after baking to preserve their bright color and mild flavor
Tired of Takeout? 🥡
Get 10 meals you can make faster than delivery arrives. Seriously.
One email. No spam. Unsubscribe anytime.
Instructions
- Preheat your oven:
- Set it to 375F and grab a rimmed baking sheet, lining it with parchment paper or giving it a thorough coating of nonstick spray.
- Whisk the base:
- Beat those eggs with cottage cheese and milk until the mixture turns pale and slightly frothy, about a full minute of active whisking.
- Season the mixture:
- Sprinkle in your salt, pepper, and dried herbs, giving it another quick whisk to distribute everything evenly.
- Add the vegetables:
- Fold in all those chopped vegetables gently, just until combined, being careful not to deflate the frothy egg mixture.
- Spread and settle:
- Pour everything onto your prepared baking sheet, then give the pan a gentle tap on the counter to release any air bubbles.
- Bake until golden:
- Slide it into the oven for 22 to 25 minutes, watching for the edges to turn golden while the center remains just slightly jiggly.
- Let it rest:
- Set the pan on a cooling rack for five minutes, which helps the eggs finish setting and makes slicing much easier.
- Serve and store:
- Cut into six generous squares, scatter those fresh chives on top, and keep any leftovers in an airtight container for up to four days.
 Pin It
 This recipe became my go-to when my parents visited last month and my dad, typically a cereal-only breakfast person, went back for seconds. He asked for the recipe before he even finished his coffee, which might be the highest compliment I have ever received on a dish.
Making Ahead
I have learned through trial and error that this recipe actually improves after a night in the refrigerator. The flavors meld together and the texture becomes more fudge-like, almost like a crustless quiche that holds together beautifully when reheated.
Customizing Your Vegetables
Sometimes I swap in whatever is languishing in my crisper drawer, like sauteed mushrooms in place of zucchini or diced asparagus when spring arrives. The key is keeping the total vegetable volume roughly the same so the eggs still set properly.
Serving Suggestions
These squares travel surprisingly well, making them perfect for busy mornings when breakfast needs to happen in the car or at your desk. I have wrapped them individually in foil and taken them on early morning flights, much to the envy of my seatmates.
- Warm a slice in the microwave for 30 seconds topped with a dollop of salsa
- Serve alongside whole grain toast with smashed avocado for a complete meal
- Cool completely and pack in containers for grab-and-go breakfasts throughout the week
 Pin It
 There is something deeply satisfying about a breakfast that feels substantial without weighing you down. The way those roasted tomatoes burst in your mouth alongside fluffy eggs reminds me why simple ingredients, treated with care, often become the recipes we return to again and again.
Recipe Questions & Answers
- → How long do these baked eggs keep in the refrigerator?
Store leftovers in an airtight container in the refrigerator for up to 4 days. The squares reheat perfectly in the microwave for about 30-60 seconds, making them ideal for busy weekday mornings.
- → Can I freeze these sheet pan eggs?
Yes, these freeze well for up to 2 months. Wrap individual squares tightly in plastic wrap and place in a freezer-safe bag. Thaw overnight in the refrigerator before reheating.
- → What vegetables work best in this dish?
Cherry tomatoes, spinach, bell pepper, zucchini, and red onion provide excellent texture and flavor. You can also swap in mushrooms, broccoli, asparagus, or diced bell peppers based on what you have available.
- → Why add cottage cheese to baked eggs?
Cottage cheese adds extra protein (about 12 grams per serving) while creating a creamy, fluffy texture. The cheese melts during baking, keeping the eggs moist without making them heavy or dense.
- → What size baking sheet works best?
A rimmed 13x9 inch baking sheet creates the ideal thickness for even baking. The rimmed edges prevent spillage, and the surface area allows the eggs to cook through evenly in about 22-25 minutes.
- → How can I tell when the eggs are done?
The eggs are finished when they're just set in the center—no longer jiggly—and lightly golden around the edges. A knife inserted into the center should come out clean, not runny.