 Pin It
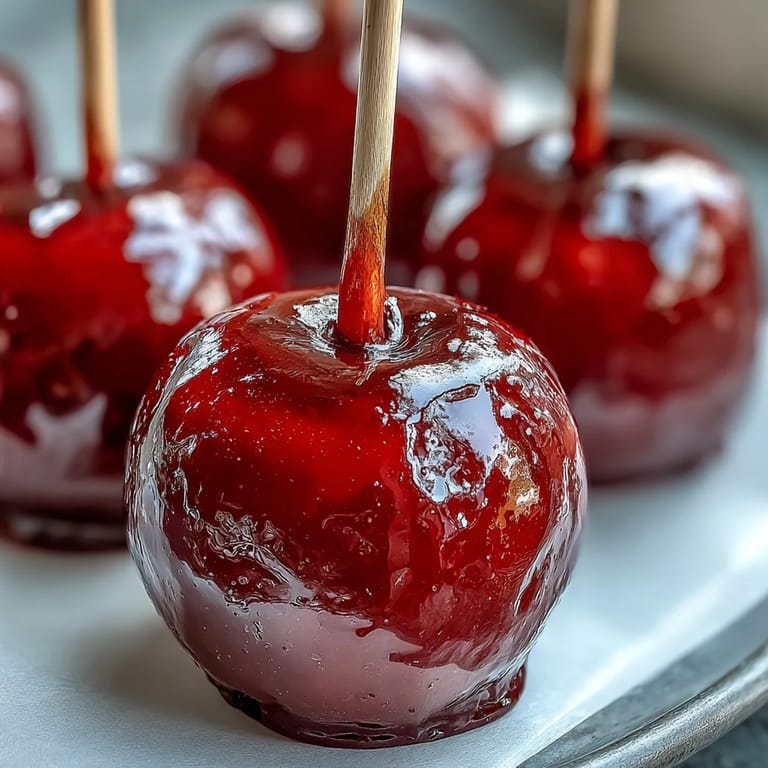
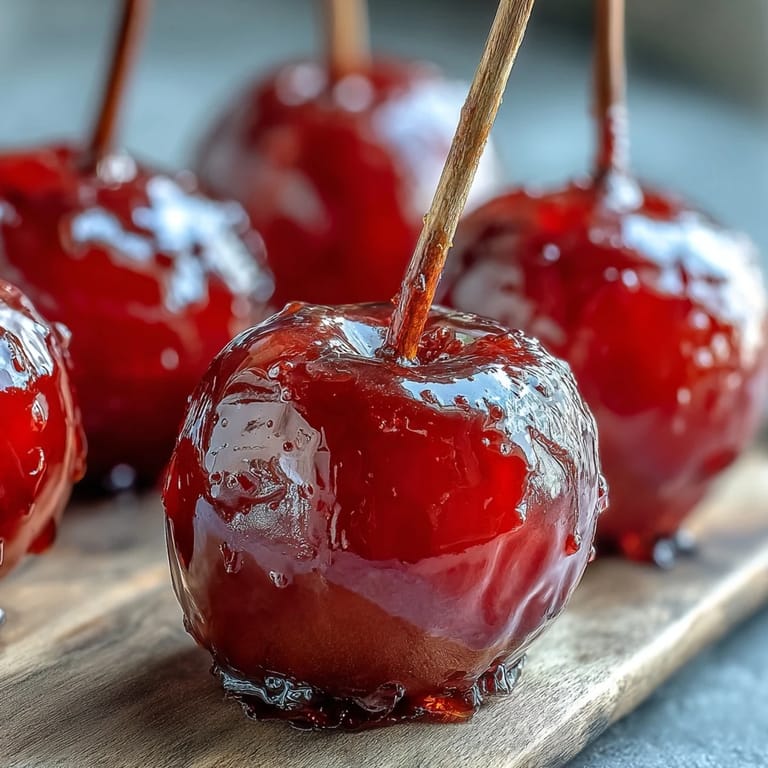
 My daughter spotted them at the county fair last summer—glossy red candy apples on sticks, gleaming under the afternoon sun like tiny jewels. She wanted one so badly, but they were six dollars each, and I thought, why not make these at home? That weekend, our kitchen filled with the sharp, sweet smell of hot sugar, and within an hour, we had a batch of mini versions that looked just as magical. She called them her "fancy apples," and suddenly, a simple candy project became something she asked for again and again.
I made these for my nephew's fifth birthday party on a whim, thinking they'd be a nice addition to the dessert table. The moment the kids saw that glossy candy shell catching the light, everything else got forgotten—they lined up asking for one immediately. One little girl actually asked her mom if we sold them, which made me laugh so hard I almost dropped the next batch into the coating.
Ingredients
- Small apples (Gala, Fuji, or crabapples): Choose apples that feel firm and aren't mealy; if they're a bit tart, that actually balances the sweetness of the candy shell beautifully.
- Granulated sugar: This is the backbone of your candy coat, and measuring it accurately makes all the difference between a hard crack and a sticky mess.
- Light corn syrup: Don't skip this—it prevents crystallization and gives you that smooth, glossy finish instead of a grainy surface.
- Water: Use it to dissolve the sugar gently; I learned the hard way that adding too much makes the candy soft instead of crisp.
- Red gel food coloring: Gel works better than liquid because it doesn't thin out the candy, and the color stays vibrant without diluting the coating.
- Wooden sticks: Make sure they're sturdy enough to support the weight; flimsy sticks bend or snap, and nobody wants a candy apple on their lap.
Tired of Takeout? 🥡
Get 10 meals you can make faster than delivery arrives. Seriously.
One email. No spam. Unsubscribe anytime.
Instructions
- Prepare Your Apples:
- Wash and dry them thoroughly—any moisture will cause the candy to slide right off. If you're using large apples, halving them makes them bite-sized and easier to handle, plus you'll get more apples from fewer fruits.
- Set Up Your Station:
- Line your baking sheet with parchment paper and spray it lightly with cooking spray, or use a silicone mat. This prevents sticking and makes cleanup so much easier than you'd expect.
- Combine and Dissolve:
- Mix sugar, corn syrup, and water in a medium saucepan over medium heat, stirring gently until the sugar dissolves completely. You'll know it's ready when the mixture looks clear instead of grainy.
- Reach the Hard Crack Stage:
- Turn the heat up to high and let the mixture boil without stirring—this is where patience matters. Watch your candy thermometer like a hawk; at 290°F, you've got that perfect hard-crack stage where the coating snaps cleanly when it cools.
- Add the Color:
- Remove from heat and carefully stir in the red gel coloring until it's evenly distributed throughout. The mixture will still be extremely hot, so work slowly and deliberately.
- The Dip:
- Working as quickly as you can without burning yourself, dip each apple into the hot candy, swirling to coat it completely. Let the excess drip back into the pan before placing it on your prepared baking sheet.
- Let It Cool:
- Give the apples about ten minutes to cool at room temperature until the coating hardens into that satisfying snap. Resist the urge to move them around—patience here makes all the difference.
 Pin It
 There's something almost magical about the moment when a plain apple transforms into something that looks like it came from a fancy candy shop. My mom watched me make these last month and said they reminded her of county fairs from her own childhood, which suddenly connected three generations through a simple candy dip.
Decorating for Extra Pizzazz
The real fun happens right after you dip but before the candy hardens—about a thirty-second window where you can add sprinkles, crushed cookies, mini chocolate chips, or even edible glitter. My son went wild with rainbow sprinkles one time, and they stuck perfectly because the candy was still tacky; another time, I crushed some red velvet cookies and the effect looked almost professional. Just remember that whatever you add needs to go on immediately, because once the candy cools, you've lost your chance.
Color and Flavor Variations
Green candy apples feel fresh and fall-like, while blue ones look wonderfully unexpected and modern. You can even do two-tone apples if you're feeling adventurous—dip halfway in one color, let it set for a minute, then flip and dip the other half in a contrasting shade. I've also read that some people add flavoring oils to the candy, like a tiny bit of apple extract or cinnamon, though I haven't experimented with that myself yet.
Storage and Gifting Tips
These keep beautifully at room temperature in an airtight container for several days, though they're honestly best within the first two days when the coating is crispest. I've wrapped them individually in cellophane with a ribbon for gifts, and they feel special enough that people think you spent way more time on them than you actually did.
- Store them with parchment paper between each apple so they don't stick together.
- Room temperature is your friend—never, ever put these in the refrigerator after they're coated.
- If you're making these ahead for a party, prepare them no more than a few hours before serving.
 Pin It
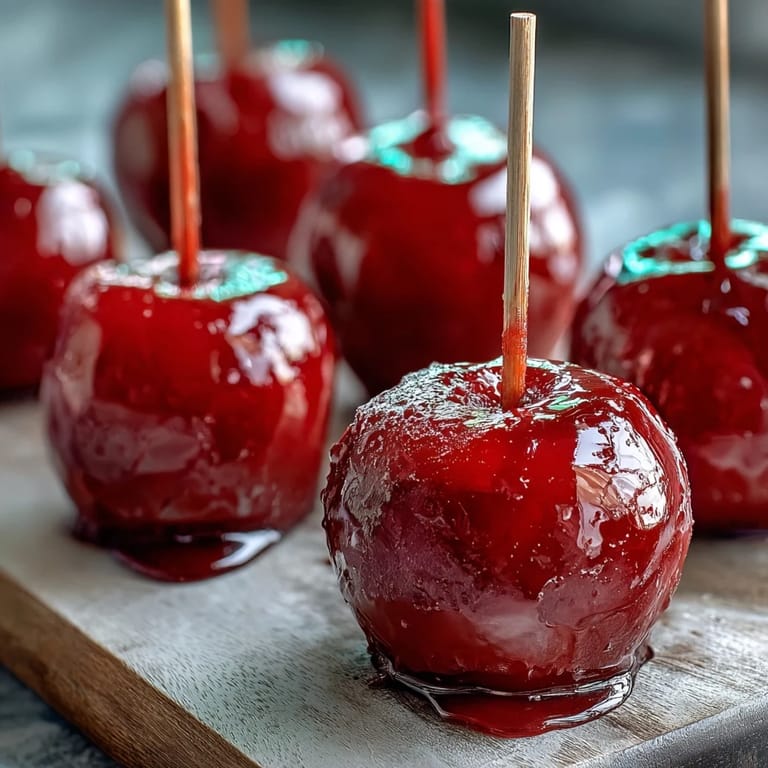
 There's something special about handing someone a homemade candy apple—it feels like a small gift wrapped in nostalgia and sweetness. Once you've made them once, you'll find yourself making them again and again.
Recipe Questions & Answers
- → What types of apples work best for this treat?
Small apples like Gala or Fuji are ideal, or crabapples for bite-sized portions. Larger apples can be halved and seeded.
- → How do I know when the candy coating is ready?
The sugar syrup should reach the hard crack stage, about 290°F (143°C), to create a crisp candy shell once cooled.
- → Can I add decorations to the candy coating?
Yes, dipping freshly coated apples into sprinkles, crushed cookies, or mini chocolate chips before the candy hardens adds extra fun and texture.
- → How should I handle the hot candy syrup safely?
Use caution as the syrup is extremely hot. Adult supervision is recommended when handling and dipping the apples.
- → Is refrigeration recommended after coating?
No, refrigerating can cause the candy shell to become sticky. Let apples cool at room temperature for best results.