Pin It
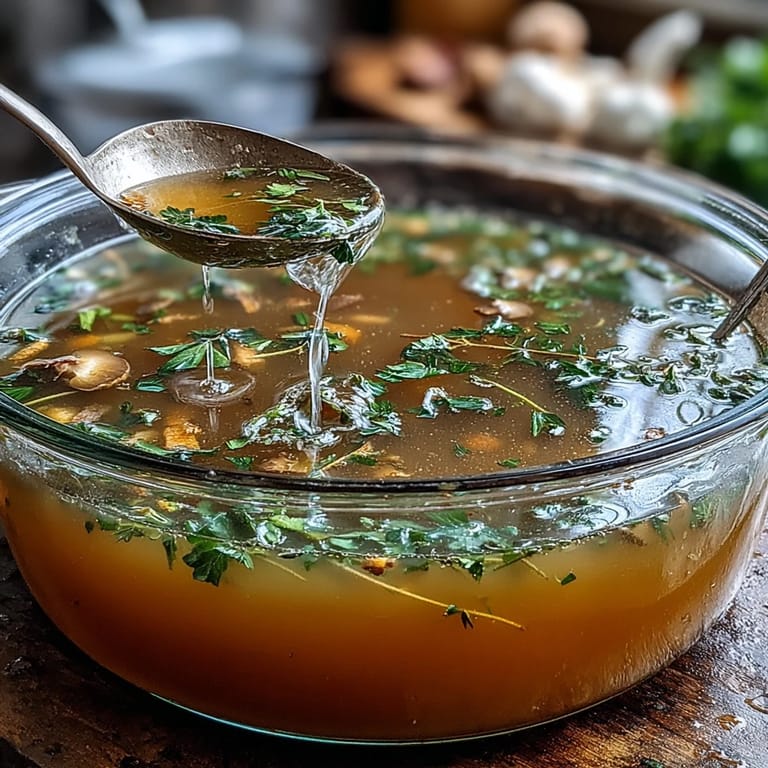
 There's something quietly satisfying about turning kitchen scraps into liquid gold. My freezer used to overflow with vegetable trimmings until a friend mentioned she saved them in a bag, and one afternoon when she needed broth, she just simmered everything down into something that tasted like home. Now I do the same, and what started as waste reduction became my secret weapon in the kitchen.
I made this broth last winter when my partner was fighting a cold, and instead of reaching for the store-bought carton, I had golden liquid ready to go. Watching someone sip something you made from your own vegetable scraps, something warm and nourishing, felt like a small act of care that mattered more than it should have.
Ingredients
- Vegetable Scraps: Gather 4 cups of assorted trimmings like carrot peels, onion skins, celery ends, leek tops, and mushroom stems, but skip potato peels and cruciferous vegetables that cloud the broth.
- Bay Leaf: Just one leaf adds subtle depth that makes people ask what you did to make it taste so good.
- Black Peppercorns: Five to seven corns give warmth without overpowering, and they won't dissolve into the broth.
- Garlic: Two crushed cloves are optional but absolutely worth including for a whisper of savory richness.
- Salt: One teaspoon to start, though you can adjust later since other recipes might add their own salt.
- Fresh Thyme or Dried: A sprig or half teaspoon adds an herbal note that feels intentional without being obvious.
- Cold Water: Eight cups is the foundation, and starting cold helps extract flavor gradually and gently.
Tired of Takeout? 🥡
Get 10 meals you can make faster than delivery arrives. Seriously.
One email. No spam. Unsubscribe anytime.
Instructions
- Gather Your Scraps Mindfully:
- As you prep vegetables throughout the week, set aside clean trimmings in a freezer bag or bowl. When you're ready to make broth, you'll have everything waiting, and the variety is what creates complexity in flavor.
- Combine in Your Pot:
- Toss the scraps, bay leaf, peppercorns, crushed garlic, salt, and thyme into a large stockpot. There's no need to chop or fuss; just let them pile in together.
- Cover with Cold Water:
- Pour in the cold water until everything is submerged, then give it a gentle stir so nothing floats to the surface.
- Bring Heat Slowly:
- Turn the heat to medium-high and let it come to a boil, which usually takes about 10 minutes. You'll notice small bubbles rising, then the surface will foam slightly.
- Simmer Gently and Patiently:
- Once boiling, lower the heat so the broth barely bubbles, just a few gentle movements on the surface. As it simmers, you'll see foam rise periodically; skim it off with a ladle, as it contains impurities you don't want in your final broth.
- Let Time Do the Work:
- Simmer uncovered for 45 to 60 minutes, depending on how much flavor you want to extract. There's no rush, and the longer it goes, the deeper the taste becomes.
- Taste and Adjust:
- About halfway through, take a spoon and taste it. If it feels thin, give it another 15 minutes; if it's already rich and satisfying, you can stop early.
- Strain with Care:
- Pour the broth through a fine-mesh sieve or cheesecloth into a clean container, letting gravity do the work. The solids can go straight into your compost.
- Cool and Store Properly:
- Let it cool at room temperature, then refrigerate for up to 5 days or freeze in airtight containers or ice cube trays for up to 3 months. This way, you always have broth ready without thinking.
 Pin It
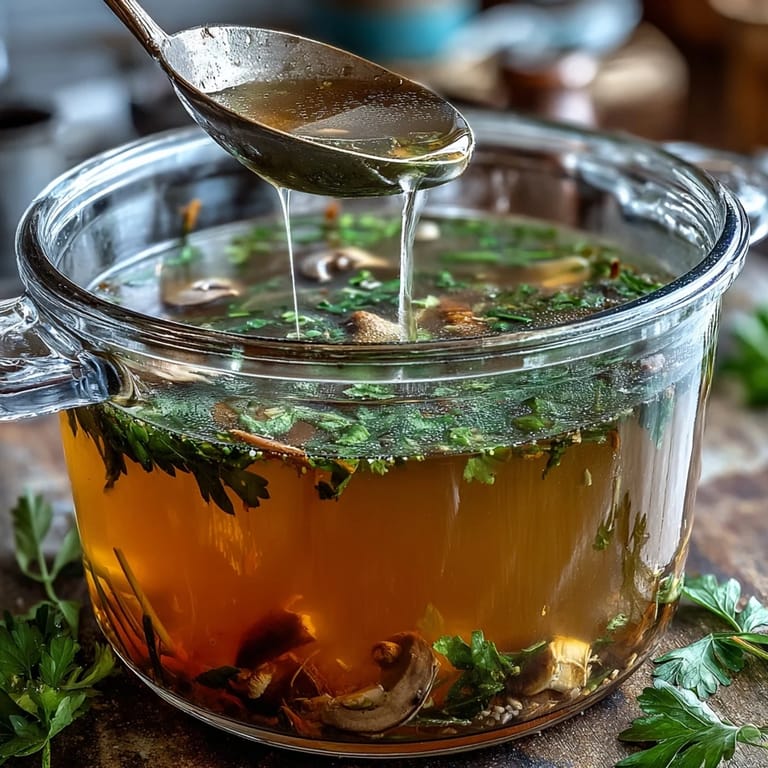
 The first time I served a risotto made with homemade broth, someone closed their eyes and said it tasted like what they remembered their grandmother making. That moment made me understand that broth isn't just a background player, it's the foundation that makes everything taste like it matters.
Why Roasting Matters
If you have 20 extra minutes, roast your vegetable scraps in a 400°F oven before simmering. They'll caramelize slightly, their sugars concentrate, and the broth deepens into something richer and more complex than raw scraps alone can deliver. I only learned this trick after making broth the basic way a dozen times, and now I can't imagine going back.
Building Umami Depth
Once I started adding a small piece of kombu or dried mushroom to the pot, people began asking what was different. Those ingredients add umami, the savory fifth taste that makes broth feel substantial and deeply nourishing rather than just flavored water. It's a small addition that costs almost nothing but elevates the entire result.
Making It Work in Your Kitchen
The real trick is keeping a bag of scraps in your freezer and making broth whenever you have an hour to let something simmer quietly. Once you have homemade broth on hand, you'll find yourself using it in unexpected places, and your cooking will shift.
- Start a scrap bag today so you're never waiting for ingredients when the mood strikes.
- Freeze broth in ice cube trays, then pop cubes into a freezer bag for portions you can use in any recipe.
- Remember that this broth is mild and forgiving, so it works as a base for anything without overpowering other flavors.
 Pin It
 Making broth from scraps is one of those small kitchen practices that feels generous toward yourself and the planet at the same time. Once you start, you'll wonder how you ever cooked without it.
Recipe Questions & Answers
- → What vegetable scraps work best?
Carrot peels, onion skins, celery ends, leek tops, mushroom stems, and parsley stems create excellent depth. Avoid potato peels, brassicas, and overly sweet vegetables which can cloud the flavor.
- → Can I freeze this broth?
Absolutely. Portion cooled broth into airtight containers and freeze for up to three months. Thaw overnight in the refrigerator before using.
- → How can I deepen the flavor?
Roast the vegetable scraps at 200°C for 20 minutes before simmering. Adding kombu or dried mushrooms during cooking also enhances umami notes.
- → Should I add salt?
Add salt only if planning to drink the broth straight. Leave it unsalted when using as a base for other dishes, allowing better seasoning control later.
- → What's the best way to strain?
A fine-mesh sieve catches most solids, but layering cheesecloth inside ensures crystal-clear results. Press gently to extract liquid without forcing pulp through.